From Seed to Harvest: A Complete Guide to Growing Dutch Seeds
Introduction
Growing your own plants from seeds can be a rewarding and fulfilling experience. Whether you are a seasoned gardener or a beginner looking to try your hand at gardening, Dutch seeds offer a wide variety of options to choose from. In this comprehensive guide, we will take you through the entire process of growing Dutch seeds, from planting to harvesting.
1. Choosing the Right Seeds
Before you start your gardening journey, it is essential to choose the right seeds for your needs. Dutch seeds come in various strains, each with its unique characteristics and growing requirements. Consider factors such as the plant's size, flowering time, and climate preferences when selecting your seeds.
2. Germination
The first step in growing Dutch seeds is germination. To germinate your seeds, place them in a damp paper towel and keep them in a warm, dark place. Once the seeds have sprouted, transfer them to a small pot filled with nutrient-rich soil.
3. Planting
When planting your Dutch seeds, make sure to choose a pot with good drainage to prevent waterlogging. Fill the pot with potting soil and create a small hole in the center to place the seed. Cover the seed with a thin layer of soil and water gently.
People Also Look For:
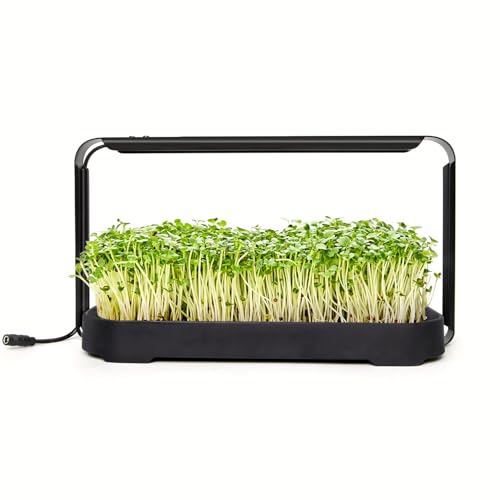
- SMB All-in-One Grow Kit Zombie-K-Grow-Fem: Soil, Nutrients and Total Ease.
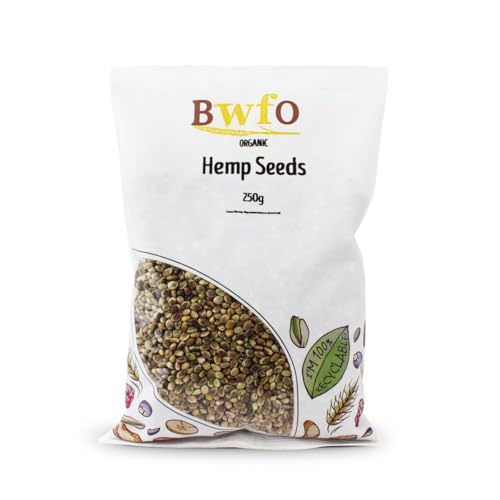
- Organic Hemp Seeds 250g (BWFO)
- Hulled Hemp Seeds 1kg - Shelled Hemp Hearts Ready to Eat Edible For Human Consumption Grade Without No Shell Seed Natural Protein ...
- Twinbergs Organic Shelled Hemp Seeds 1KG – Raw, Hulled Hemp Hearts | Superfood With Omega 3 & 6 for Smoothies, Baking & Pro...
- FEM Gorilla TAGWEED X3 Seeds
4. Light and Temperature
Dutch seeds require plenty of light to grow healthy and strong. Place your plants in a sunny spot where they can receive at least 6-8 hours of sunlight per day. Maintain a consistent temperature of around 70-85°F (21-29°C) for optimal growth.
5. Watering and Feeding
Water your Dutch seeds regularly, making sure not to overwater as it can lead to root rot. Use a balanced fertilizer to feed your plants every 2-4 weeks during the growing season to promote healthy growth.
6. Pruning and Training
To encourage bushier growth and maximize yields, consider pruning and training your Dutch plants. Remove any dead or yellowing leaves and use plant ties to support the branches as they grow taller.
7. Pest and Disease Control
Keep an eye out for common pests such as aphids, spider mites, and caterpillars that can damage your Dutch plants. Use organic pest control methods such as neem oil or insecticidal soap to keep these pests at bay. Prevent diseases by practicing good hygiene and proper plant care.
8. Flowering and Harvesting
As your Dutch plants mature, they will enter the flowering stage. Monitor the plants closely for signs of flowering, such as the development of buds and flowers. Harvest your plants when the flowers are fully mature and the trichomes are cloudy or amber-colored.
9. Drying and Curing
After harvesting your Dutch plants, hang them upside down in a dark, well-ventilated room to dry. Once the plants are dry, trim the buds and place them in glass jars to cure. Curing allows the buds to develop their full flavor and potency.
10. Enjoying the Fruits of Your Labor
After following this complete guide to growing Dutch seeds, you can now enjoy the fruits of your labor. Whether you use your harvest for medicinal purposes or recreational enjoyment, growing your own plants from seeds is a fulfilling experience that allows you to appreciate the beauty of nature.